|
Invoice Maker - Help File - version 1.0.1
Thank you for down loading InvoiceMaker.
This file is guide showing a how to use Invoice Maker and a list of known issues and contact details of how to obtain help
and software updates.
Firstly - if invoice maker fails please send an email to admin@invoicemaker.co.uk giving as much detail of the error as possible. We will try to respond within 24hrs or sooner.
Two recent error codes have been reported to occur: Run time
error 438 or Run time error 2147286781 Cant Save
Both of these appear to be related to Microsoft Data Access Components
(MDAC). Various searches have pointed to the version of MDAC installed on
the computer running InvoiceMaker Ensuring that the computer is running
the latest version of MDAC may solve these problems. MDAC 2.8 can be
downloaded from Microsoft here: http://www.microsoft.com/downloads/details.aspx?familyid=6c050fe3-c795-4b7d-b037-185d0506396c&displaylang=en
Down loading and installing software is entirely at the users own risk and users should satisfy themselves that
it is suitable for their particular system. Additional info can be found
here: http://support.microsoft.com/kb/264869
(Error 438) http://support.microsoft.com/kb/818518
(Error 2147286781 Cant Save)
Setting Up Invoice Maker for First Time.
Once the program is running click the Tab entitled "Invoice Layout" This is where you get to add your company details / name
and address details you want displayed on the invoices.
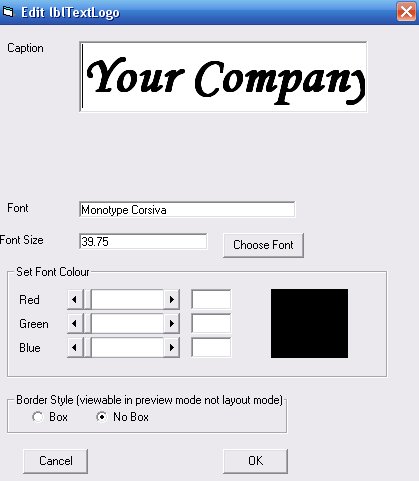
Left Click into any of the boxes as shown: 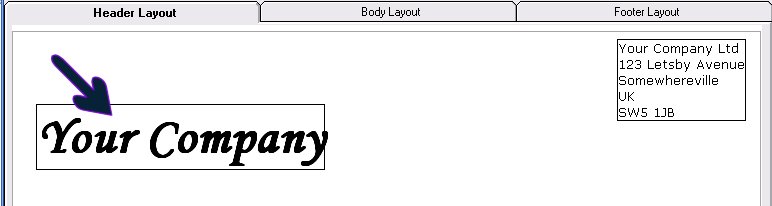
to bring up a content editor where you can set the font size and colour etc.
To check your
progress click the preview button at the bottom of the screen to see what your invoices will look like.
If you would like to use an image file for your logo click the tick box marked "Use Logo"
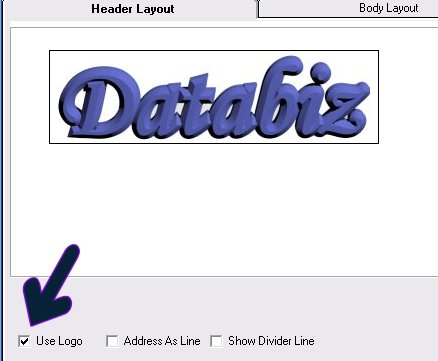
The logo box should appear with the
Databiz Logo inside it.
Left Click on the Databiz logo or the box where the logo is to go and a requester will pop up asking you to select the image file you would like to use.
If your company charges VAT/GST you can have this automatically calculated for you.
At the bottom of the layout page is a text box marked "VAT Rate" and a tick box marked "VAT Registered"
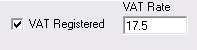 Enter your local
VAT/GST rate into the text box and ensure the tick box is ticked. - In the "Body Layout" Tab you can set the caption that is
displayed next to the Tax when it is displayed on the invoice. Change this to whatever your local tax is called.
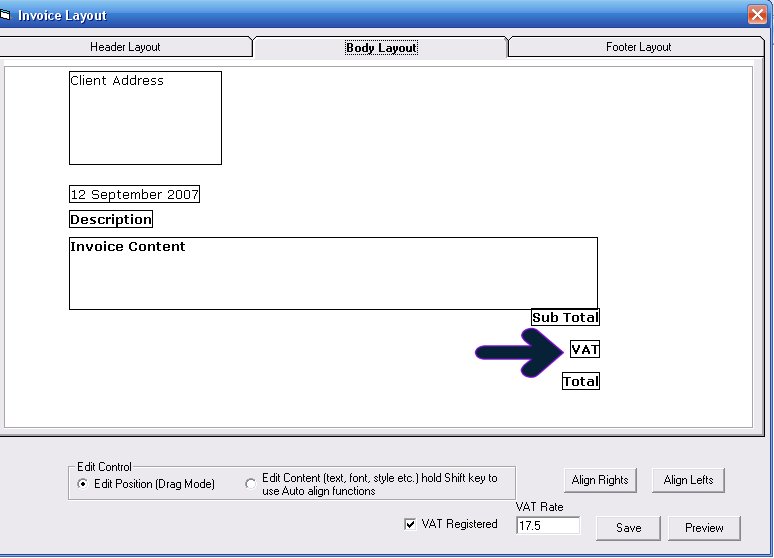
Of course you can change all of the captions shown on the invoice so that
you can the whole invoice into to you local language. The only box
you cant change the text of is the "Client Address" box because
this is automatically filled when you select a client to invoice.
Once you are happy click on the Tabs marked "Body Layout" and "Footer Layout" make the changes as required and click the
"Save"
button.
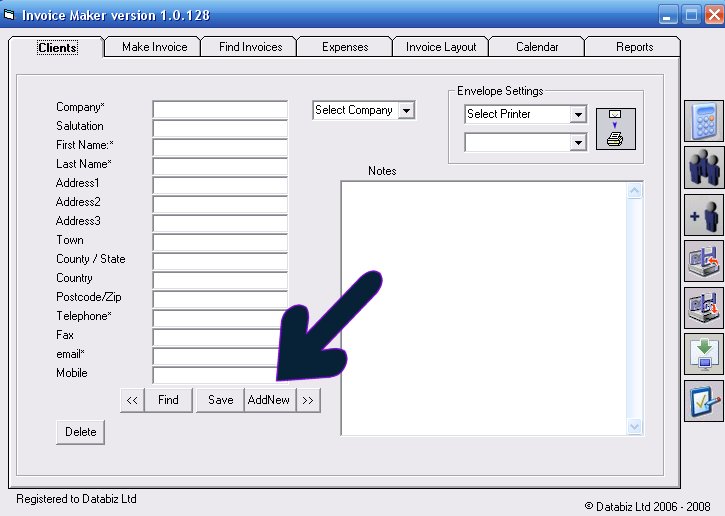
Now we need to start adding clients - so we can send them invoices.
Click the "Clients" tab and either click into the the "Company" textbox or the "Add New" button and enter the details of your
client. Once this is done click the Save button.
Now you can start making Invoices.
Click the "Make Invoice" Tab and select your client - enter the details of the invoice into the "Invoice Content" box. You
can add extra lines with prices if you wish as this box is entirely free form. Enter the value (EXCLUDING TAX) of the invoice
in the text box captioned "Value" as soon as you click away from this box the tax is automatically calculated and entered
into the center box and the total appears in the "Total" box.
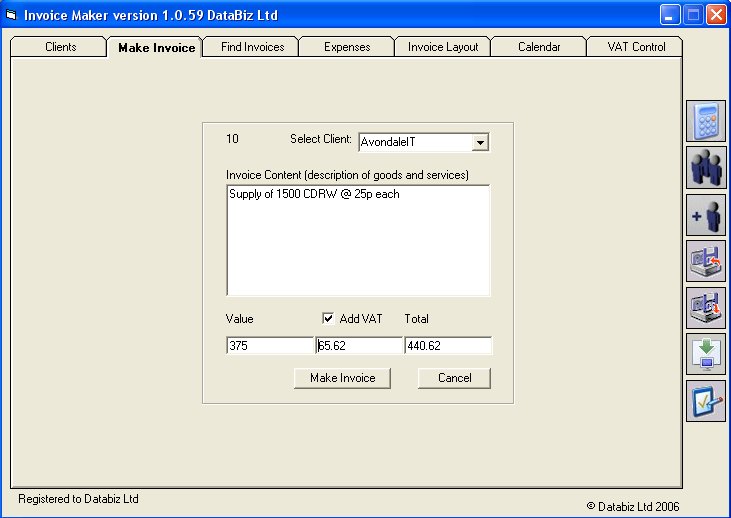
Once you are happy with the content of your invoice Click the "Make Invoice" button and your invoice is created and you will
be taken to the "Find Invoices Tab.
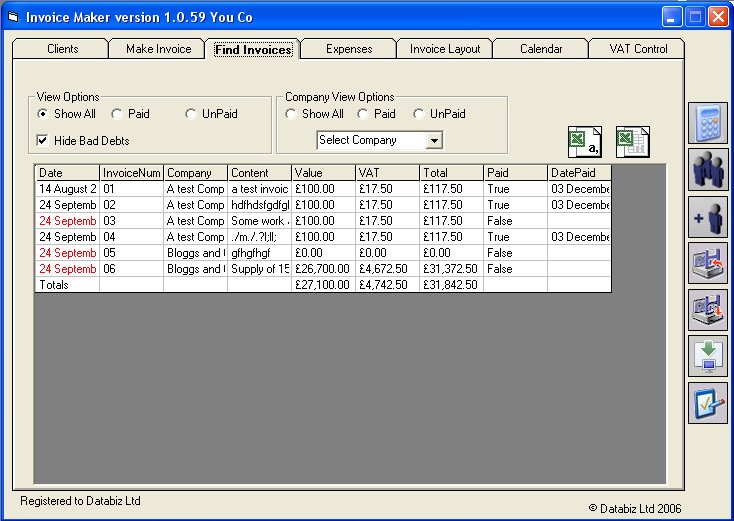
You may view and print the invoice you have created by clicking on the line in the table where your invoice is displayed.
You may edit the content of your invoice by right clicking on the line where your invoice is displayed and selecting edit from the mini mouse menu that appears.
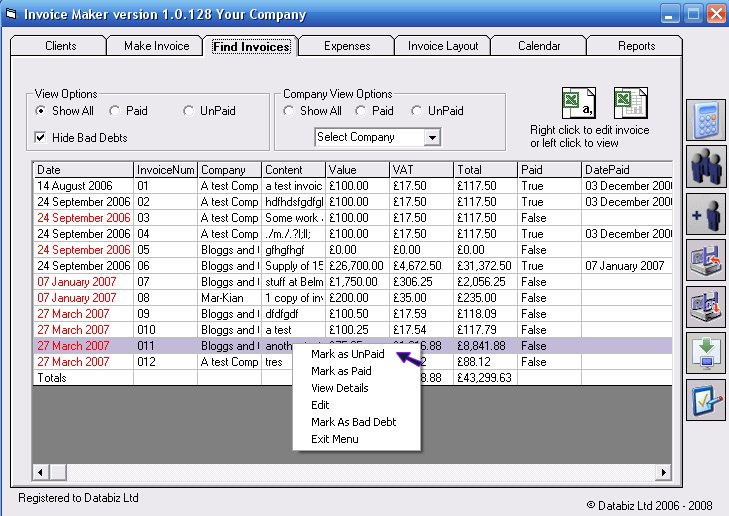
Once you are paid by your client you can use this mini menu to mark the invoice as "Paid" or "Unpaid" if you marked it as paid in error.
Other features such as BACK UP and RESTORE etc. should be self explanatory
but if you feel that help file details should be added please email us.
|